
How to Start a Community History Photo Project
Ask neighbors for their photos through one upload link, record the year and place while someone still remembers, and let a small team sort it all. Here's how to start.
The simplest way to start a community history photo project is to pick a small team, open one shared archive, and ask neighbors, local businesses, and longtime families to add their old photos through a single upload link. Ask for the year, even a guess, the place, and the story behind each photo. Then sort what arrives by decade and place, and share the folders you've checked.
Here's how to plan the project, what to ask people for, and how to keep it going after the first wave of photos.
Why a Town's Photos Are Hard to Gather
A community's history is rarely in one place. The historical society has a few boxes, the library has some newspaper clippings, and most of the photos sit in family albums, shop back rooms, and the phones of people who photographed old prints years ago.
Each year some of those photos are thrown out or lost, along with the people who could say what they show. A community history project gathers them while the photos and the memories are both still around.
Step 1: Form a Small Team and Set a Scope
Two to five people can run a community project. One person owns it and keeps it moving. The others review what comes in, sort it, and fill in details. A historical society, library, or civic group makes a natural home for the project, so it doesn't depend on one volunteer's email address.
Decide what the archive covers before you ask anyone for photos: the town, a neighborhood, a main street, or a period such as the years before a mill closed. A clear scope tells people what to look for, and it gives your team a simple rule for what to approve.
Step 2: Choose One Place for Every Photo
Pick one place where every photo ends up. A shared drive can hold files, but it can't hold the year, the place, and the story with each one, and it lets anyone with access move or delete things. A group chat loses photos to the scroll, and texted photos arrive compressed.
Whatever you choose, it should let people add photos without creating an account, keep the details with each photo, and let your team review everything before anyone else sees it.
Step 3: Ask the Community, More Than Once
Send one upload link through every channel your community already uses: the society's newsletter, the library, local social media groups, church bulletins, and the local paper. Put the link's QR code on a flyer at the library, the town hall, and the senior center.
Here's a message you can adapt:
We're gathering photos of [town] into one community history archive. If you have pictures of our streets, businesses, schools, events, or people, old or recent, please add them here: [your link]. No app or account needed. Add the year, even a guess, and where it was taken. If you have old prints, a phone photo of each one works.
Ask again at moments when people are already thinking about the past: a town anniversary, a building's closing, Memorial Day, or the society's annual meeting.
Step 4: Hold a Scanning Day
Many of the best photos belong to people who won't upload anything themselves. Set up a table at the library or a community event and invite people to bring their albums. Volunteers photograph each print with a phone, laid flat in good light with no glare, or scan it on a flatbed scanner. People take their originals home and tell you what each one shows.
These conversations are often where the details come from. Write down the year, the place, and the names while the person is still at the table.
Step 5: Record the Year, the Place, and the Story
For a community archive, three details matter most:
Year: an exact date is welcome, but a guess like "about 1955" or "late 1930s" beats a blank.
Location: the street, the building, or the landmark. Old business names and addresses help later readers match a photo to today's town.
Description: who or what is in the photo, and what was happening.
Add photos even when nobody can identify them yet. A neighbor who sees an unidentified photo in the archive may recognize the storefront or the people. A photo that stays in a box can't be identified by anyone.
Step 6: Sort by Decade and Place
Set up folders that match how people look up local history:
By decade.
Places, including buildings, streets, and landmarks.
People, including portraits and group photos.
Business and industry.
Civic life, including government and schools.
Events and celebrations.
Tags can mark what kind of image each one is, such as an aerial view, an interior, an exterior, a scanned document, or a newspaper clipping. Together, folders and tags let a reader find every photo of Main Street in the 1950s.
Step 7: Decide What to Share
Older photos of buildings and streets are usually easy to publish. Recent photos can show people who are still living, including children. Keep the archive private while your team works, publish the folders you've checked, and set a simple rule: if someone asks for a photo of themselves to come down, take it down first and talk about it after.
How EventPix.photo Handles This
EventPix.photo has a Community History Collection built for this kind of project. You share one link, or its QR code, and neighbors add photos and videos from any phone or computer, with no app and no account. Each photo can carry the year, the location, and a description.
A shared drive costs less and can work when one person gathers a few dozen photos. A Collection fits when many people contribute, the details matter, and the archive needs to outlast any one volunteer.
The Collection starts with folders for decades, places, people, business and industry, civic life, and events and celebrations. Your team members sign in as owners, admins, curators, or viewers, so the people who sort and approve photos are separate from the people who browse. Nothing a contributor uploads appears in a gallery or slideshow until someone on your team approves it, and the Collection stays private until you publish the folders you choose.
The owner and admins can download everything as a ZIP of the original photos and videos, with a spreadsheet of every year, place, and description. If the person who owns the Collection steps down, the owner can transfer it to another member of your team.
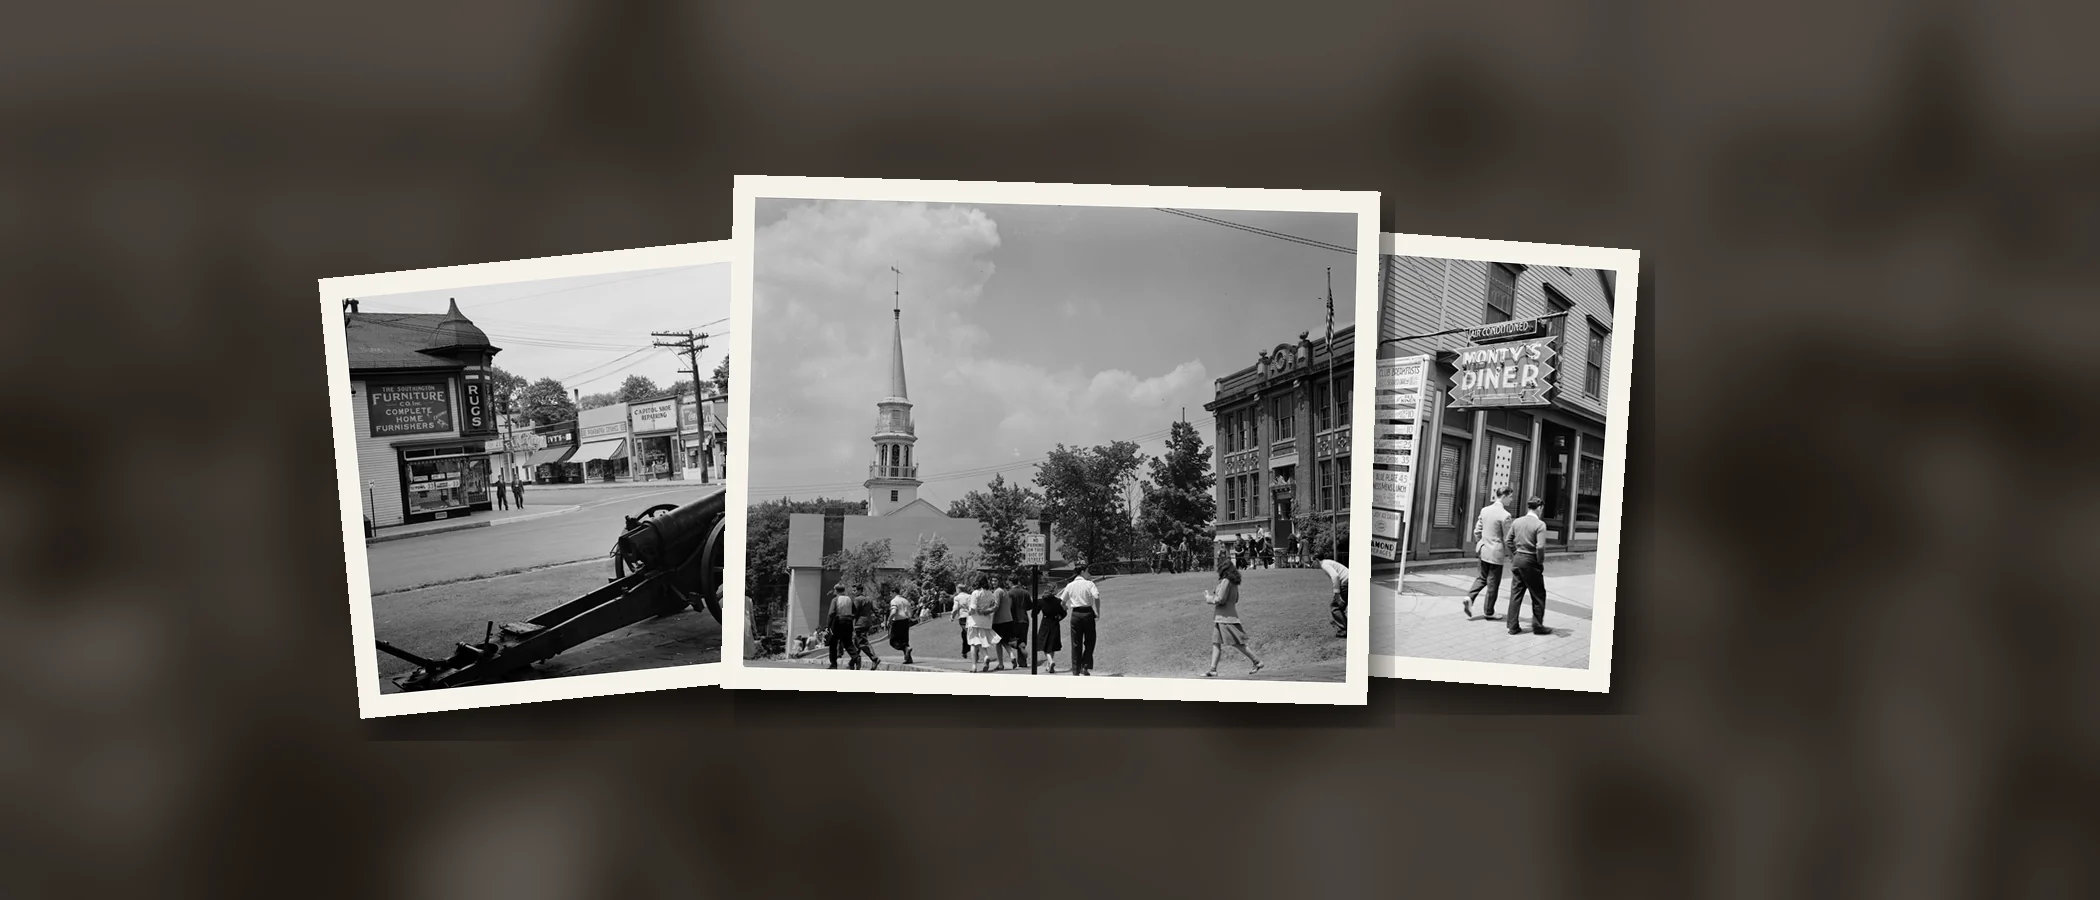
A Collection runs for 12 months and renews each year. It costs $229 a year, or $179 for verified nonprofits and schools, such as a historical society registered as a nonprofit. To see a finished archive, browse a sample Collection of Southington, Connecticut, from about 1920 to 1942, built from Library of Congress photos.
Frequently Asked Questions
Do people need an account to add photos?
Not with EventPix.photo. Contributors use the upload link from any phone or computer. Only the people who organize the archive sign in.
What if nobody knows when a photo was taken?
Add it anyway, with a guess at the decade if anyone has one. Someone may recognize a storefront or a car later, and a curator can fill in the details then.
Can we include newspaper clippings and documents?
Yes, as photos or scans. Uploads are images and videos, so photograph or scan a clipping, flyer, or letter and upload it like any other photo.
Can we keep some photos private?
Yes. A Community History Collection starts private. You publish only the folders you choose, and everything else stays visible only to the people you've invited.
How many photos can a Collection hold?
A Collection includes 100 GB of storage, room for about 25,000 phone photos. Videos and large scans use more space. If your Collection fills up, the owner can add storage in 25 GB blocks.
Who should own a community archive?
Pick one steady person to own the Collection, often an officer of the historical society, and invite others to help. If they step down, they can transfer ownership to another member, so the archive isn't tied to one person.